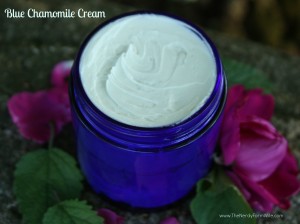
Blue Chamomile Cream – Updated Version

I’ve had a quite a few requests asking how to make Blue Chamomile Face Cream without the sodium borate. I finally got around to experimenting and must say that I LOVE this new version made with stearic acid (a natural, palm derived emulsifier) even more so than the original!
Before starting, make sure to sterilize all utensils, bowls, beaters, and jars – I use the dishwasher. Because this cream contains herbally infused water and no chemical preservatives, the shelf life will be much shorter compared to store-bought creams. Be sure not to leave out the Rosemary Antioxidant (Extract), which is not the same as Rosemary Essential Oil and will help lengthen the shelf life. Refrigeration will also preserve freshness, though the trade-off may be a bit of separation. If that happens, simply stir gently before each use.

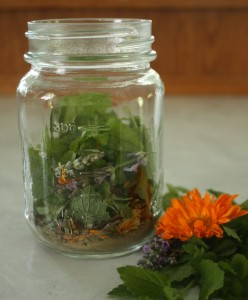
First you’ll want to gather some of the following herbs to create an infusion, remembering you can substitute ingredients or change the amounts or use dry/fresh depending on what you have on hand. I like growing as many of these as I can, but for ones I don’t/can’t, I like to buy from Mountain Rose Herbs. You’ll want a teaspoon or so of each (dried) or a generous pinch of each (fresh). Some herbs that work well in this cream:
- lavender buds
- plantain
- calendula flowers
- comfrey leaves
- lemon balm leaves
- chamomile
- rose petals
- violet leaves

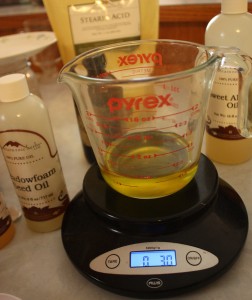
Place the following in a heat-proof measuring cup with ounce markings:
- 1 TBSP Jojoba Oil
- 1 TBSP Meadowfoam Seed Oil
- 1/2 TBSP Tamanu Oil
Add 1 1/2 ounces of shea butter. (You can add chunks of it into the liquid oil until it is pushed up to the 4 1/2 ounce mark if you don’t have a scale.
Next add 1/2 ounce beeswax pastilles (again, add until liquid oil is pushed up to 5 ounce mark on measuring cup if you don’t have a scale) and 2 Tablespoons of stearic acid.
Set the heat-proof measuring cup with all of these in it into a pan of almost simmering water until melted. Remove from the pan and let cool to body temperature. (Test with clean finger.) While the oil is cooling, strain the herbal infusion into a heat proof glass and set it down in the pot of water that has been removed from heat. This helps it warm up to body temperature.

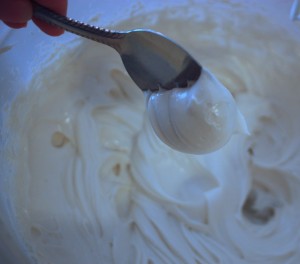
Pour 4 ounces of the slightly warmed herbal infused water slowly into the oil while beating with an electric mixer. Mix on highest speed for about 15 minutes, adding the following essential oils during the last 30 seconds or so:
- 2 drops of Bergamot (optional – for scent only; also avoid this oil if you will be using as a day cream since bergamot can make your skin more sensitive to the sun)
- 15 drops Balsam Peru
- 15 drops Lavender
- 4 drops Ylang Ylang (optional – for scent only)
- 5 drops Carrot Seed
- 20 drops Blue Chamomile
- 1/4 teaspoon Rosemary Antioxidant (Extract) (NOT essential oil)
Spoon into jars leaving as little air space as possible and cap tightly. Remember how perishable this is, so make small batches that can be used up fairly quickly. Sterilize everything your ingredients will touch, don’t forget to use distilled water and keep the finished product refrigerated if you’re afraid it will spoil too fast.
When you first put this cream on, it seems a little thick – just rub it in and give it a few minutes. It will soak it and leave your skin so smooth and soft. This is definitely one of my most loved items!
I hope you enjoyed reading this post! For other make-your-own-beauty-products ideas, check out my DIY Herbals & Vinegars Page, which is where I’m gradually indexing all of my favorite recipes.


0 comments:
Post a Comment